
DNS Configuration
To enable DNS:
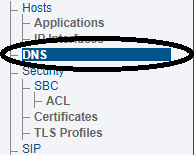
1. Select DNS from the navigation menu.
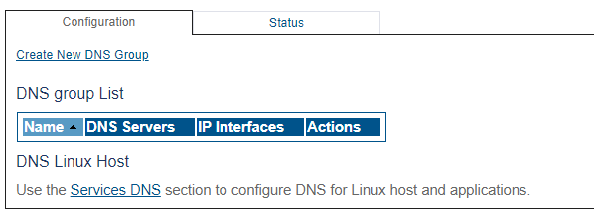
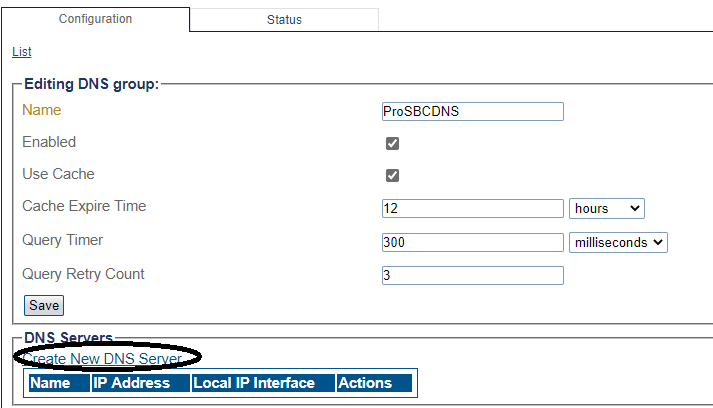
2. Click Create New DNS Group
3. Enter a name for the DNS Group
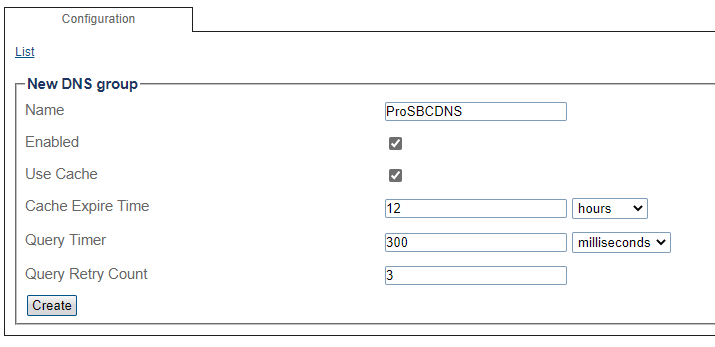
Enabled: Enables DNS name resolution support for this group.
Use Cache: Use DNS name caching for improved performance.
Cache Expire Time: DNS name cache expiration time.
Query Timer: DNS query timeout.
Query Retry Count: DNS query maximum retries before giving up.
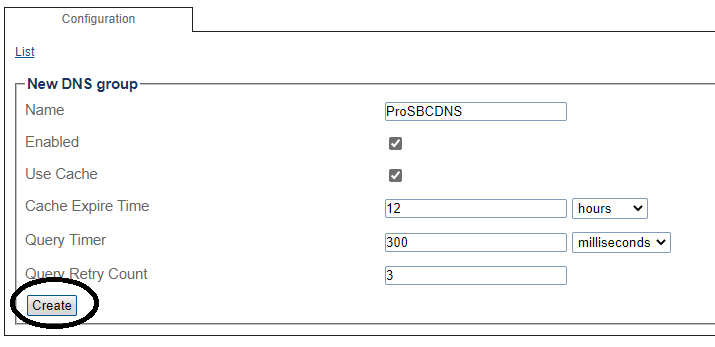
4. Click to Create button
5. In the new window click to Create New DNS Server
6. Enter a name for the new DNS server
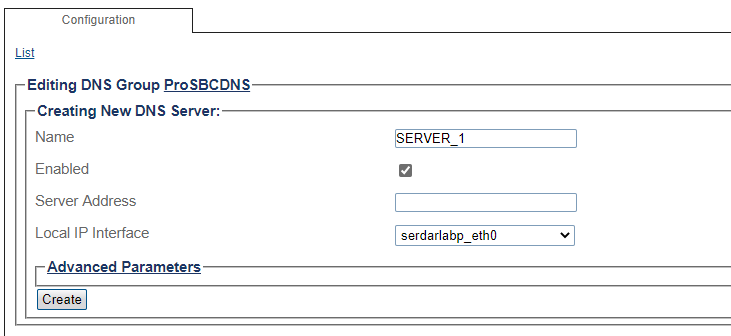
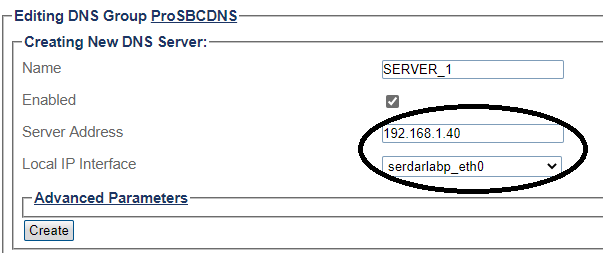
7. Enter the DNS Server IP address and Select the local IP interface used to send DNS queries.
8. DNS server Port, Protocol and local POrt can be configured under Advanced Parameters
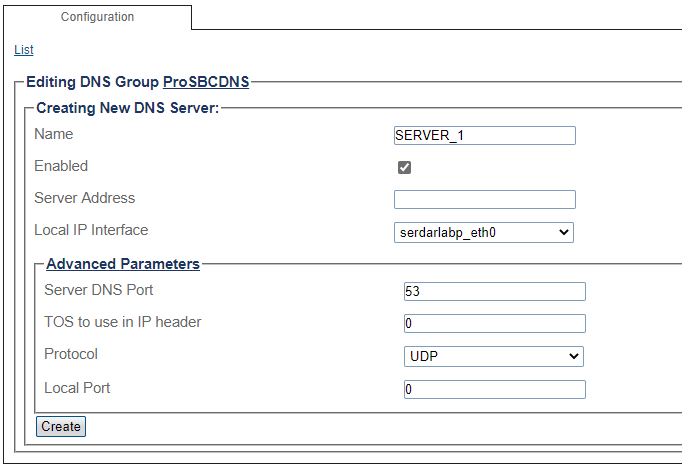
9. Click to Create button

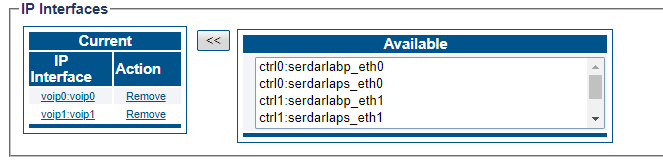
10. Select which interfaces can get FQDN resolved. Only incoming messages coming from those IPs can get FQDN resolved.
You can create local DNS entries from the same menu.
1. Click to Local Entries and Create New DNS local Entry

2. Enter a name for Local DNS and FQDN
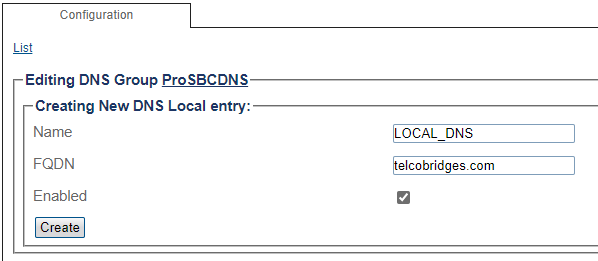
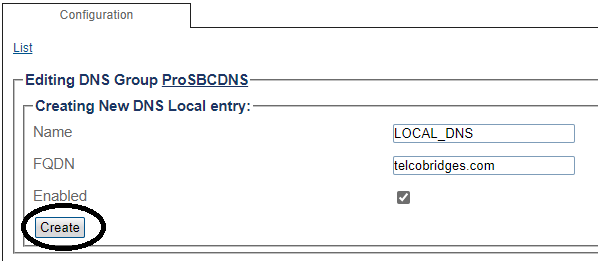
3. Click to Create button
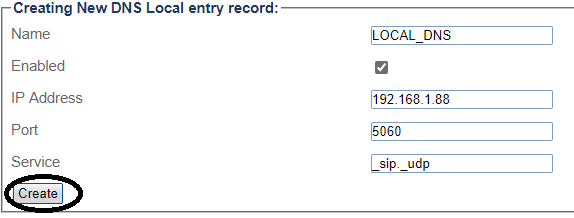
4. Click to Create New DNS local entry record
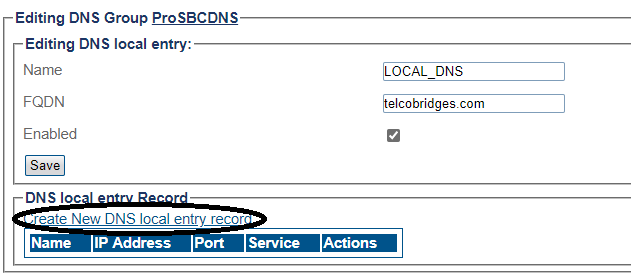
5 . Enter a name for Local DNS entry

IP Address: Address to be resolved.
Port: Port to resolved by SRV request
Service: Service for this entry. _sip._udp, _sip._tcp etc..
6. Click to Create button
Last updated
Was this helpful?